
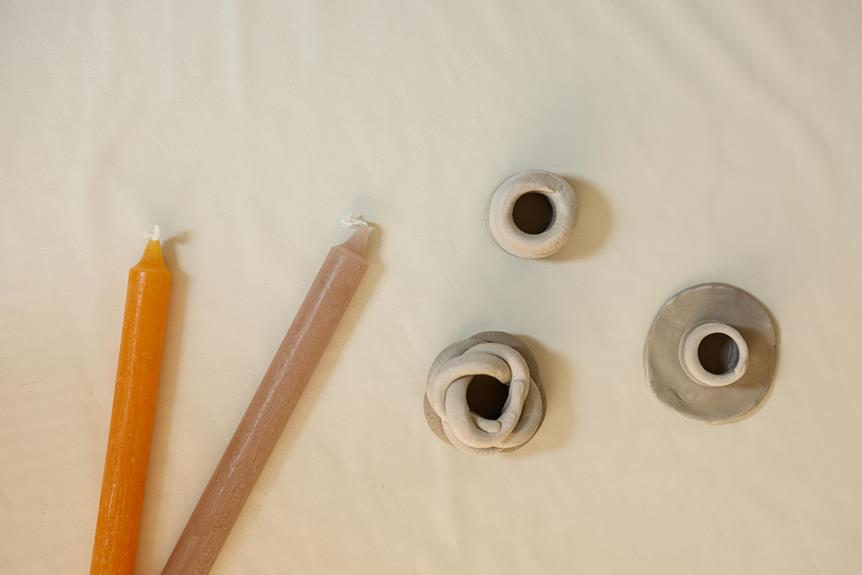
You'll start by gathering essential materials like raw beeswax pellets, a double boiler, thermometer, colorants, and fragrances. Cut the beeswax into smaller pieces to facilitate even heating, and remove any debris or impurities. Melt the wax in a double boiler, stirring occasionally, until it reaches a temperature between 160°F and 180°F. Then, prepare your mold, attach a wick, and pour in the melted wax. Let it cool and harden, and finally, remove the candle from the mold, inspect for imperfections, and smooth out rough spots. Now, get ready to uncover the secrets to crafting the perfect beeswax candle.
Key Takeaways
- Cut raw beeswax into smaller pieces or pellets to facilitate even heating and melting.
- Melt the wax in a double boiler or dedicated candle-making pot, monitoring temperature with a thermometer.
- Prepare the candle mold by ensuring it's clean, dry, and free of debris or residue before pouring in the melted wax.
- Allow the wax to cool and harden completely in the mold, which may take several hours, before removing and finishing the candle.
- Inspect the finished candle for imperfections or excess wax and remove debris with a soft cloth or brush for a smooth finish.
Gathering Essential Materials
Gather raw beeswax pellets or blocks, a double boiler or dedicated candle-making pot, a thermometer, colorants (if desired), and a wick specifically designed for candle-making. These materials will form the foundation of your candle-making process.
You'll need a well-ventilated workspace, as melting wax can release fumes.
Have a heat-resistant surface to work on, as well as a spoon or spatula for stirring the melting wax. You might also want to have some paper towels handy to absorb any spills. If you're planning to add color or fragrance to your candle, prepare those as well.
Inspect your wick, ensuring it's free of debris and correctly sized for your candle. You don't want any surprises down the line!
With all your materials at the ready, you're set to begin the process of transforming raw beeswax into a beautiful, functional candle.
Preparing the Beeswax
Now that you've assembled all the necessary materials, it's time to prepare the raw beeswax for melting by cutting it into smaller pieces or pellets to facilitate even heating.
This step is vital to guarantee that the wax melts uniformly and efficiently.
Take your raw beeswax block and place it on a clean, dry surface.
Use a sharp utility knife or a wax cutter to cut the beeswax into small pellets or chunks. Aim for pieces that are roughly the same size so that they melt at the same rate.
You can also use a cheese grater or a food processor to grate or shred the wax into smaller pieces, but be careful not to create a mess.
As you cut the wax, remove any debris, dirt, or impurities that may be present on the surface.
This will help prevent contamination and confirm a clean, high-quality candle.
Once you've cut the wax into smaller pieces, set them aside and prepare for the next step in the candle-making process.
Melting the Beeswax Pellets
Place the beeswax pellets into a double boiler or a dedicated candle-making pot, and set it over low to medium heat, allowing the wax to melt slowly and evenly.
As the wax begins to melt, you'll notice it changing from a solid to a liquid state. Stir the wax occasionally to prevent overheating, which can cause the wax to become discolored or develop an unpleasant odor.
Once the wax is fully melted, remove it from the heat source and let it cool slightly. This is vital, as you want the wax to reach a temperature that's comfortable to work with.
If you're using a thermometer, aim for a temperature between 160°F and 180°F (71°C and 82°C). If not, test the wax by drizzling a small amount onto a heat-resistant surface. If it solidifies quickly, it's ready to use. If it remains liquid, let it cool for a few more minutes and test again.
Now that your wax is melted and cooled, you're ready to move on to the next step in creating your candle.
Shaping the Candle Form
You'll need to prepare your candle mold by making sure it's clean, dry, and free of any debris or residue. This is vital to guarantee the candle releases smoothly once it's set.
Next, you'll need to attach a wick to the bottom of the mold. You can use a wick tab or a small amount of melted wax to secure it. Make sure the wick is centered and straight, as this will affect the candle's burn.
Now it's time to pour the melted wax into the mold. Make sure to pour slowly and evenly to avoid air bubbles. You can also gently tap the mold to remove any air pockets that may form.
Continue pouring until the mold is full, then use a spatula or spoon to remove any excess wax that's spilled over the edges. Finally, allow the wax to cool and harden completely. This may take several hours, depending on the size of the candle.
Once it's set, you'll be ready to remove it from the mold and start the finishing process.
Finishing Touches and Safety
Safety precautions take center stage as you remove the candle from the mold and begin the final steps to transform it into a beautifully crafted, functional piece. Make sure you're wearing protective gloves and goggles to prevent any wax splatters or spills from causing harm.
Gently twist and pull the mold to release the candle, and set it aside to cool completely.
Once the candle is cool, inspect it for any imperfections or excess wax. Use a soft cloth or brush to remove any debris or wax drips.
If necessary, use a hairdryer on a low setting to gently melt and smooth out any rough spots.
Frequently Asked Questions
Can I Use Old or Dirty Beeswax to Make Candles?
You're wondering if you can repurpose old or dirty beeswax for candle-making. Unfortunately, you shouldn't use contaminated wax as it can affect the candle's quality, color, and burn time. It's best to start with clean, high-quality wax for ideal results.
How Do I Store My Homemade Candles for Long Periods?
You'll want to store your homemade candles in a cool, dry place away from direct sunlight. Wrap them tightly in wax paper or cloth to prevent dust buildup, and consider using airtight containers for longer storage.
Are Beeswax Candles Suitable for People With Bee Sting Allergies?
You're wondering if beeswax candles are safe for those with bee sting allergies. Fortunately, the allergenic proteins are typically found in bee venom, not beeswax, so you shouldn't have to worry about an allergic reaction.
Can I Add Essential Oils to My Beeswax Candles for Fragrance?
'A million possibilities await you! You can absolutely add essential oils to your candles for a fragrance that's simply divine. Just verify you're using high-quality oils and follow the recommended usage rates to avoid overpowering the beeswax.'
Are Beeswax Candles More Expensive Than Paraffin Wax Candles?
You'll find that beeswax candles typically cost more than paraffin wax ones due to the higher cost of raw beeswax. However, when making candles from raw beeswax, you're getting a premium, eco-friendly product that's worth the extra cost.
Conclusion
You've managed to conjure up a candle from raw beeswax, a feat worthy of an alchemist!
As you gaze upon your handiwork, the soft glow of the candlelight transporting you to a bygone era.
Remember, candle-making is an art that requires patience and attention to detail, but with practice, you'll be churning out masterpieces like a medieval artisan.
Now, go forth and illuminate the world, one candle at a time!